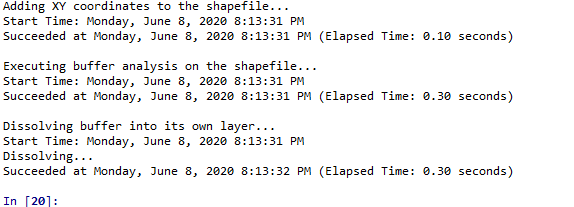

I began by writing the code to import the arcpy and env modules. I then wrote the code for setting the workspace and adding the XY coordinates. I manually wrote the code for printing the task being conducted and utilized the GetMessages function for the rest of the messages printed. At this point, I realized I had not included a means for overwriting outputs and went back to insert code for this after the workspace setting. The code for creating the buffer came next, along with the manual code for printing the task and the GetMessages function for the rest of the printed messages. I included \n in the print code to make the printed messages easier to read. Finally, I wrote the code for dissolving the buffer into its own layer and for printing the messages. The code for these messages was written in the same manner as the previous messages, also with the inclusion of the \n. All code in the script used the syntax for a stand-alone script. The flowchart for this script is depicted in the above (bottom) screenshot.
No comments:
Post a Comment